Alrighty, it's been a long time coming but I am finally here!
Ben has asked some people if they could write something for the Bugle and I decided to talk about my MDL Exporter *cough* plug *cough* download it *cough* and give you all a tutorial on how to make a TARDIS with it!
Now if you don't know about my exporter it is a Blockbench Plugin that converts any format inside of Blockbench directly into Dalek Mod's MDL format. I am very grateful that it has also been noticed by many of the developers or contributors of the mod itself. More info [here](https://documentationbb-mdl.bug1312.repl.co/)
Today, like I said, we will be replacing a TARDIS exterior using the exporter, the Synthwave to be exact!
Every TARDIS is has a different 'format' as I will call it, so this method will not work for every TARDIS, only ones with the same format.
The format is:
portal
right_door
Thankfully, I have had a friend let me use a recent TARDIS they have made for the Synthwave.
This is how we will start
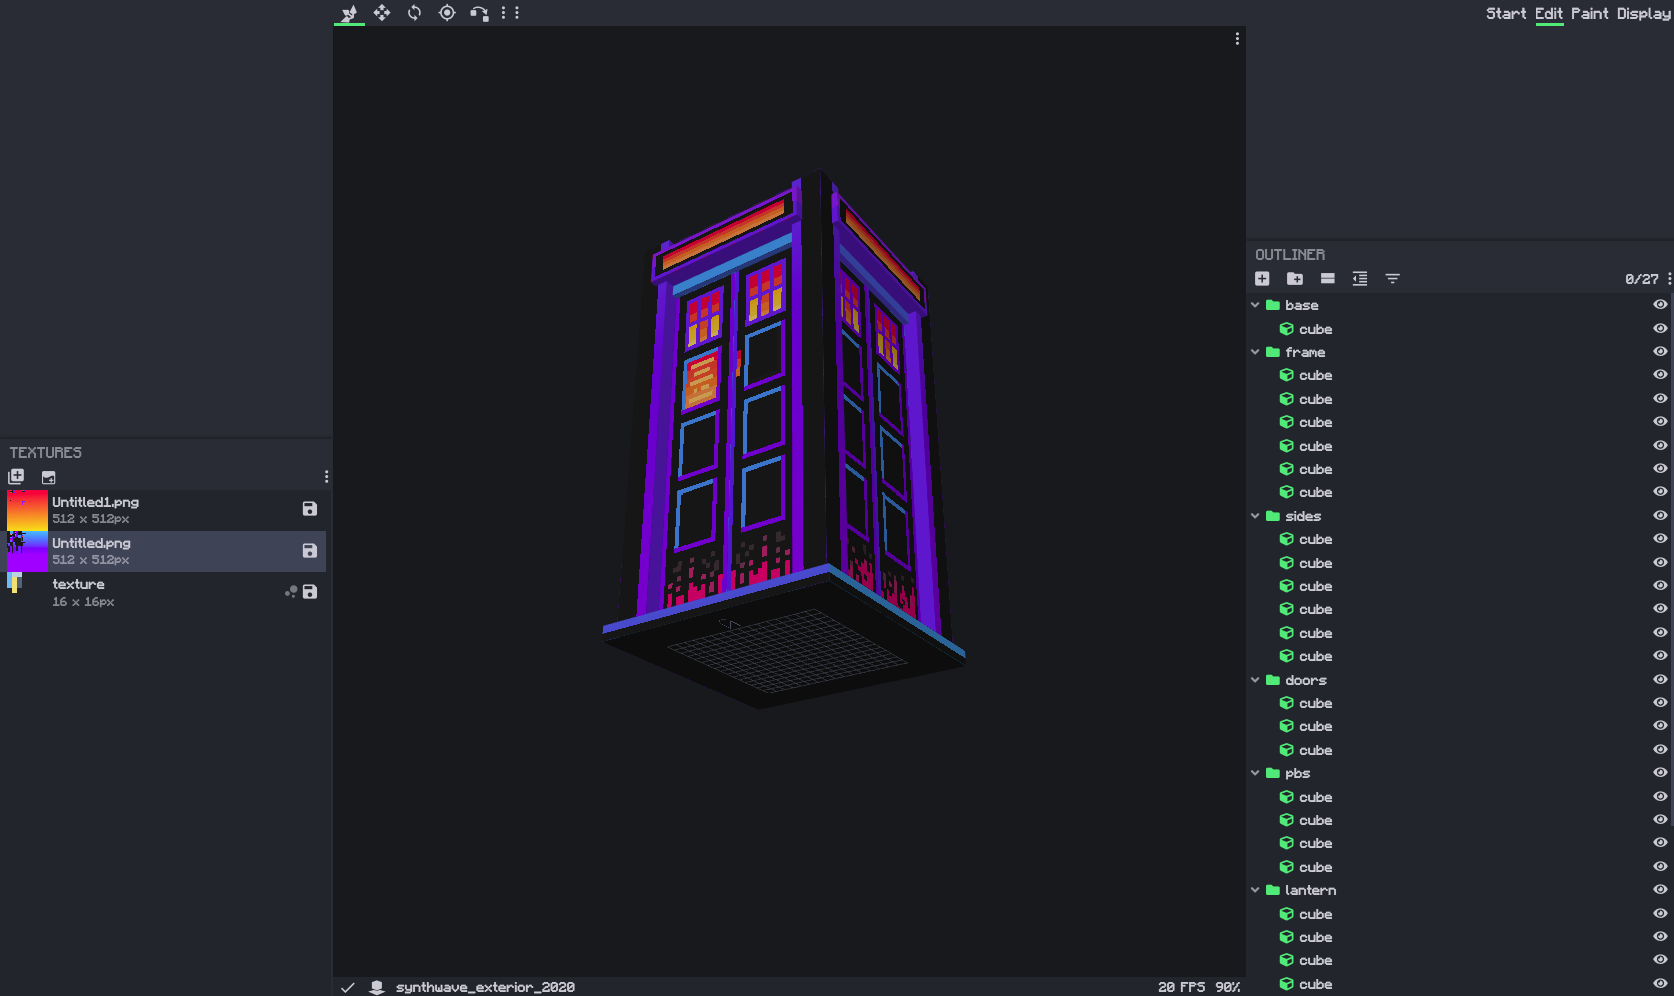
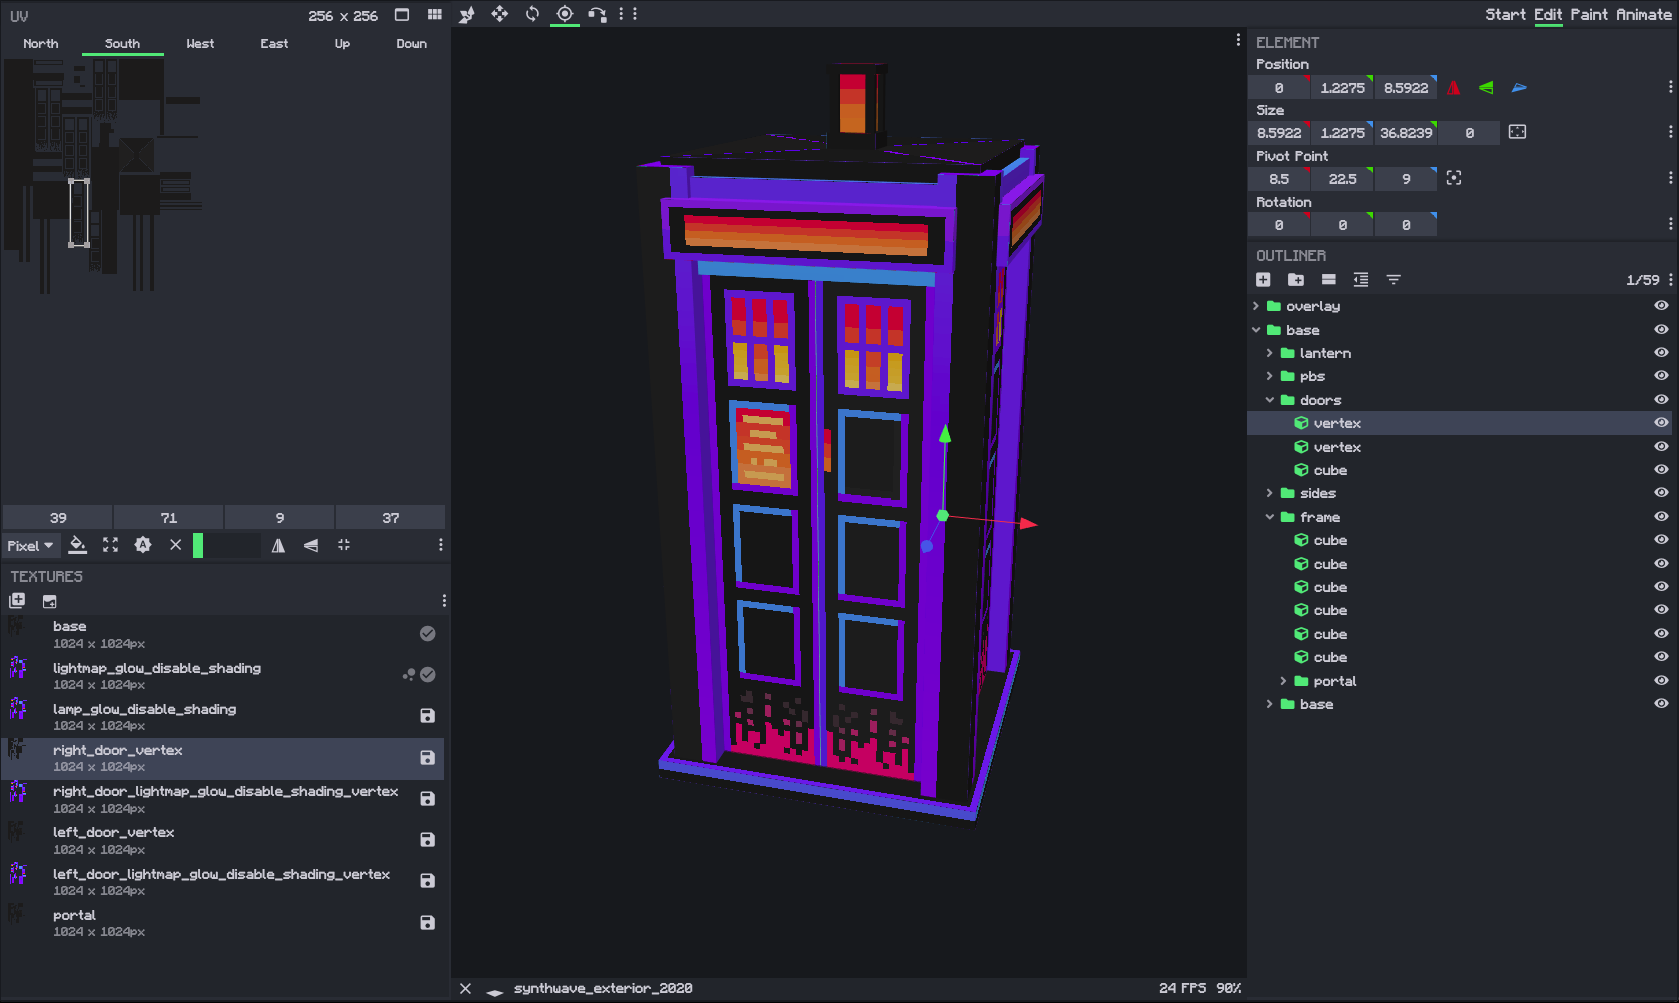
Now that we have the model, we have to set it up for the plugin to understand and process.
Firstly, we must have it facing south and then remove any rotations with groups, rotating the cubes instead. You can quickly do this with the Bone Structure Toggle tool that disabled and enabled bone structures which allows rotations.
For me that was thankfully just a quick rotation of 180° after setting all cube origins to the middle.
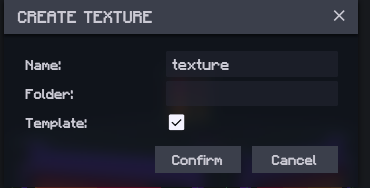
Next, what I am going to do is I am going to make this easy on me and merge all my textures, Blockbench has an automatic way of doing this by selecting cubes and then creating a template texture.
Another thing I will do is make what is called a light map. This is a separate file that we will have the textures of things glowing, we can then duplicate all the cubes and set one half to the light map and one half to the normal texture with the light map parts removed, here is an example
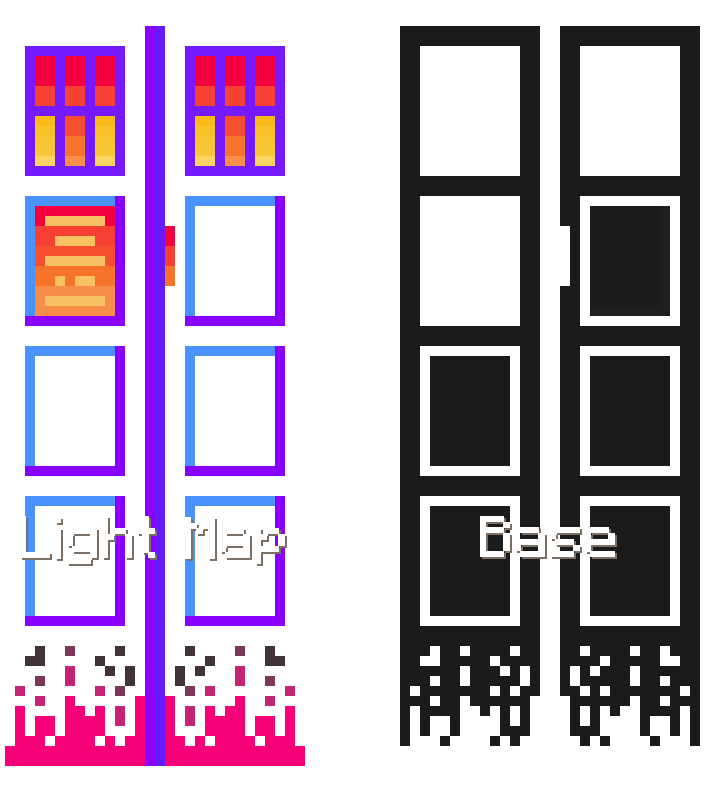
We have the light map have all the parts that will glow, and the base is what won't glow.
Remember this does not mean colors vs black!
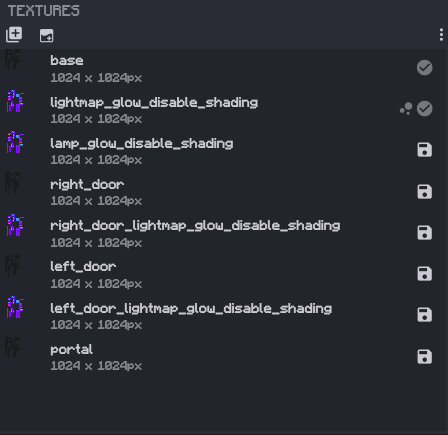
We will now start grouping pieces together, like the format states, we need to isolate the portal and the right_door, but I will separate the lamp, and the left door as well. To separate these, we must group them by texture. Selecting the cubes and creating a template texture will work well, you can also duplicate textures and rename them.
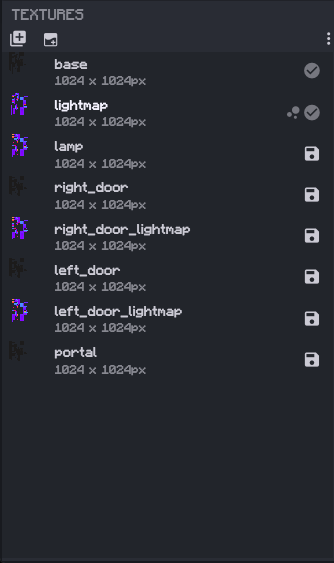
We also need to remove all extensions from the names of the images (base.png turns into base)
This will leave us with:
base
lightmap
lamp
right_door
right_door_lightmap
left_door
left_door_lightmap
portal
Making sure every cube has its correct texture we will now add the tags that are necessary, things like glow disable shading and vertex.
Let's start off with the glow and disable shading for the light maps, this will make them glow. We add _glow_disable_shading after each texture name
We will now do vertexes, this is for when the origin is important, this comes with TARDISes for their door hinges
We add _vertex to the textures with a custom origin and then set the cube with the origin we want's name to be vertex. You can position the origin in Blockbench using the Pivot tool.
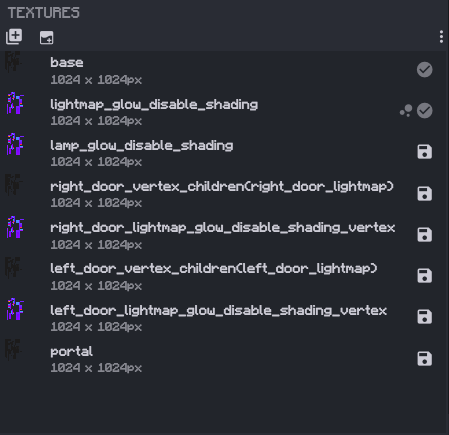
Finally we will set up children! This is for TARDISes when there are multiple parts in the door
to do this we add _children() in the name. Inside the parenthesis we put the base name of the group (the texture) and every new texture gets a comma within the parenthesis.
I had an issue with this for the light map being positioned strangely, I set their origin to their parents and then moved the cubes around until the origin finally said 0 0 0, but I never changed the origin values
In this case, we would set the light maps as children of the doors and would end up with this
That's it! Now we just press the Export MDL3 button to get our new TARDIS! Make sure to save just in case!
Sometimes this may remove all your groups and do nothing, don't worry though, just press the export button once more to get your file.
Now to put it in a resource pack, we will make a very basic resource pack which you can look online for a tutorial. Inside our resource pack we will place the new mdl file in assets/thedalekmod/models/mdl/tardis_exteriors/community/ and rename it to synthwave.mdl
This is the TARDIS in game from the plugin
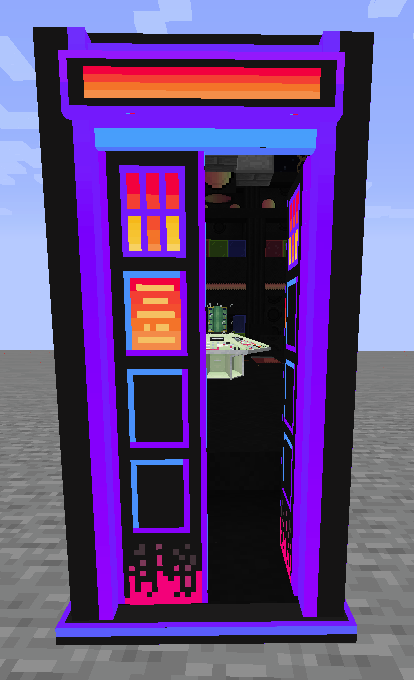
Now as a disclaimer, sometimes this doesn't work, sometimes you have to force move things, its finicky. If it's a big deal please contact me and tell me of the issue.
Hey guys - Ben1Ben1 here! I just want to say a massive thank you to Bug for making this article! Really interesting and I learnt a lot! If you would like to learn about Bug’s other plugins look here: https://bugins.bug1312.repl.co/. Or if you are new to modelling or resource pack making and would like some help, join Bug’ server here! This is where I learnt how to make resource packs! https://discord.gg/7wXBxWN
Finally Bug also has an awesome shop on DMU - WITH IT’S OWN WEBSITE!!! https://flexcrop.bug1312.repl.co/ If you ever need to buy stuff on DMU, I highly recommend checking it out!
Thanks again Bug!
If you would like to write a learning with article, please do PM me or message below!
After version 3.0.2, this method is now outdated.
After version 3.0.2, this method is now outdated.
So...
new article please? :):)
After version 3.0.2, this method is now outdated.
So...
new article please? :):)
Yes please!
Contact Us
Email: support@swdteam.com
Mail: SWDTeam, PO Box 1202, Whitstable, CT1 9RL